5. Function Lessons
Function Lessons
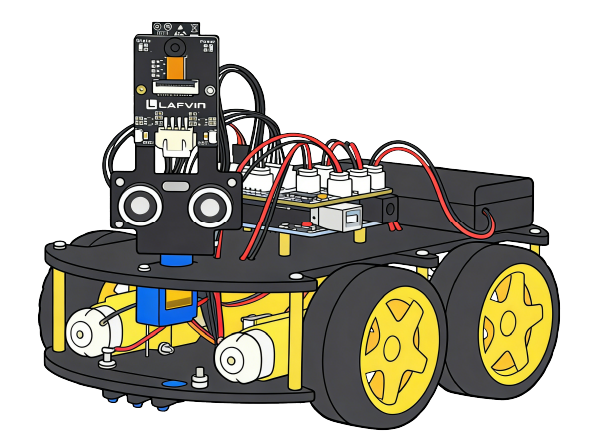
Learn each function step by step
This chapter introduces six single-function example programs for the Smart Robot Car.
Each lesson focuses on one feature only, so you can upload the code and directly observe what the car does.
Before starting these lessons, please complete Upload Program to Arduino UNO Board first.
Each lesson focuses on one feature only, so you can upload the code and directly observe what the car does.
Before starting these lessons, please complete Upload Program to Arduino UNO Board first.
Lesson 1 Move
Lesson 1 Move
Function
This lesson is used for basic motor testing. After the code is uploaded, the two drive motors will run automatically without requiring any APP or remote control operation.
What happens after upload
The car moves forward for 2 seconds, stops briefly, moves backward for 2 seconds, then stops briefly and repeats the cycle.
How to use
Code location: Lesson_Code/SmartRobotCar_Move/SmartRobotCar_Move.ino
Code upload method: Upload Program to Arduino UNO Board
1. Open "SmartRobotCar_Move.ino" in Arduino IDE.
2. Upload the code to the Arduino UNO board.
3. Place the car on a safe and open surface.
4. Turn on the power and observe whether the left and right motors rotate correctly.
Code upload method: Upload Program to Arduino UNO Board
1. Open "SmartRobotCar_Move.ino" in Arduino IDE.
2. Upload the code to the Arduino UNO board.
3. Place the car on a safe and open surface.
4. Turn on the power and observe whether the left and right motors rotate correctly.
Tips
This lesson is suitable for checking whether the motors, motor driver and battery power are working normally.
If the moving direction is opposite to the expected direction, please check the motor wiring or motor direction settings.
Lift the car slightly during the first test to avoid sudden movement on the desk.
If the moving direction is opposite to the expected direction, please check the motor wiring or motor direction settings.
Lift the car slightly during the first test to avoid sudden movement on the desk.
Lesson 2 RGB
Lesson 2 RGB
Function
This lesson demonstrates the RGB LED on the robot car. It keeps the same LED data pin and FastLED control style used by the integrated program SmartRobotCar_Main_V1.
What happens after upload
The RGB LED automatically cycles through red, green, blue, yellow, cyan, violet, white and off.
Each color is displayed for about 1 second so you can clearly observe the change.
Each color is displayed for about 1 second so you can clearly observe the change.
How to use
Code location: Lesson_Code/SmartRobotCar_RGB/SmartRobotCar_RGB.ino
Code upload method: Upload Program to Arduino UNO Board
1. Open "SmartRobotCar_RGB.ino" in Arduino IDE.
2. Upload the code to the Arduino UNO board.
3. Turn on the power and observe the RGB LED on the car body.
4. Check whether the LED can display all colors in sequence.
Code upload method: Upload Program to Arduino UNO Board
1. Open "SmartRobotCar_RGB.ino" in Arduino IDE.
2. Upload the code to the Arduino UNO board.
3. Turn on the power and observe the RGB LED on the car body.
4. Check whether the LED can display all colors in sequence.
Tips
This lesson uses the same RGB LED pin as the integrated program: digital pin 4.
If Arduino IDE prompts that FastLED is missing, please install the FastLED library first.
If the LED does not light up, check the RGB module connection and power supply.
If Arduino IDE prompts that FastLED is missing, please install the FastLED library first.
If the LED does not light up, check the RGB module connection and power supply.
Lesson 3 Servo
Lesson 3 Servo
Function
This lesson demonstrates the SG90 servo on the robot car. It uses the same servo pin and center position as the integrated program SmartRobotCar_Main_V1.
What happens after upload
The servo rotates to the left position, returns to the center, rotates to the right position, then returns to the center again.
The movement repeats automatically so you can test whether the servo responds smoothly.
The movement repeats automatically so you can test whether the servo responds smoothly.
How to use
Code location: Lesson_Code/SmartRobotCar_Servo/SmartRobotCar_Servo.ino
Code upload method: Upload Program to Arduino UNO Board
1. Open "SmartRobotCar_Servo.ino" in Arduino IDE.
2. Upload the code to the Arduino UNO board.
3. Turn on the power and observe the servo arm movement.
4. Confirm that the servo can reach left, center and right positions correctly.
Code upload method: Upload Program to Arduino UNO Board
1. Open "SmartRobotCar_Servo.ino" in Arduino IDE.
2. Upload the code to the Arduino UNO board.
3. Turn on the power and observe the servo arm movement.
4. Confirm that the servo can reach left, center and right positions correctly.
Tips
This lesson uses the same servo pin as the integrated program: digital pin 10.
Make sure the servo horn is installed firmly before testing.
If the servo jitters or does not move normally, check the 5V power and signal wire connection.
Make sure the servo horn is installed firmly before testing.
If the servo jitters or does not move normally, check the 5V power and signal wire connection.
Lesson 4 Follow
Lesson 4 Follow
Function
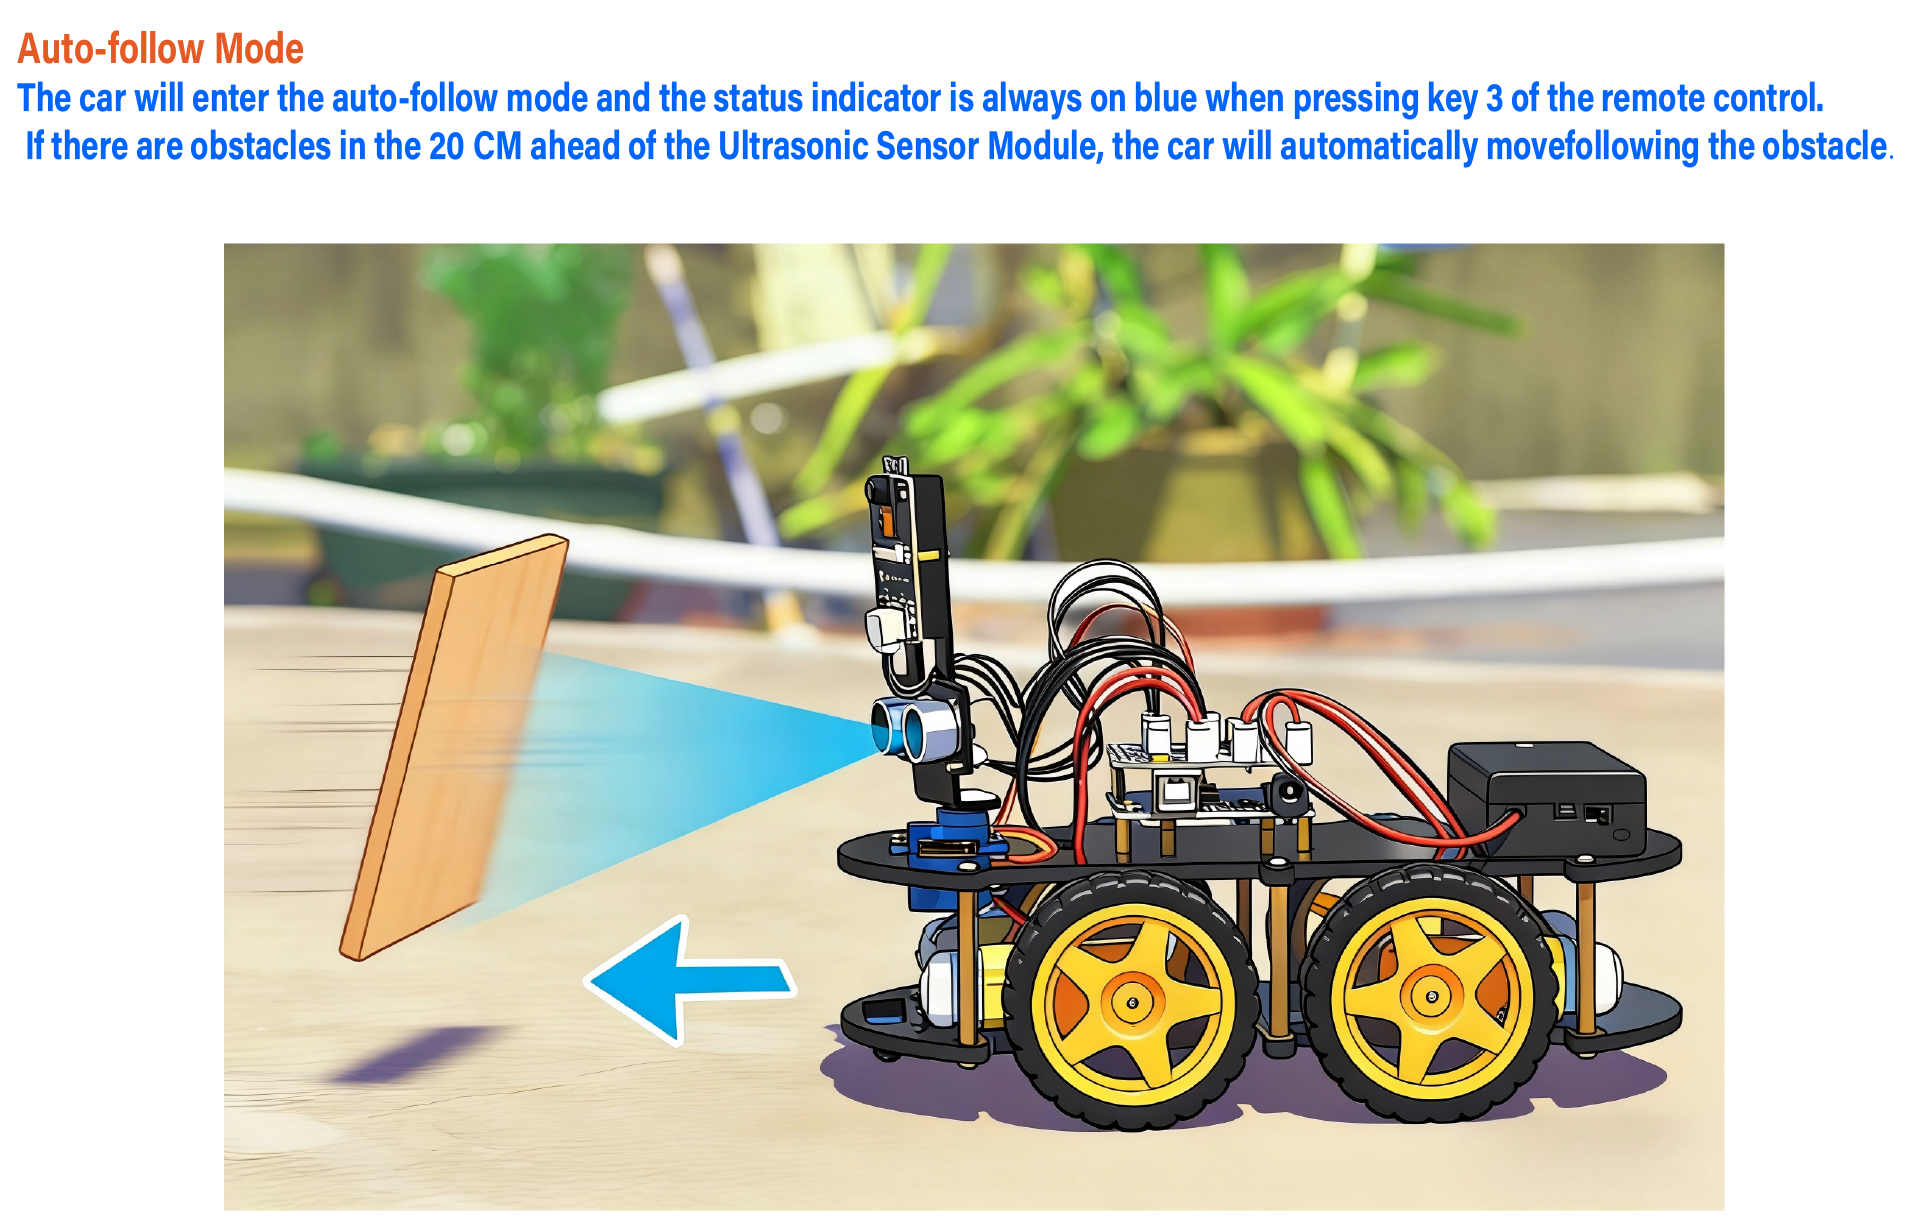
This lesson demonstrates the auto-follow feature based on the ultrasonic sensor. After the code is uploaded, the robot car will automatically try to keep a suitable distance from the target in front of it.
What happens after upload
If the target is too close, the car moves backward.
If the target is at a suitable distance, the car stops.
If the target is a little farther away, the car moves forward.
If no valid target is detected, the car stops.
If the target is at a suitable distance, the car stops.
If the target is a little farther away, the car moves forward.
If no valid target is detected, the car stops.
How to use
Code location: Lesson_Code/SmartRobotCar_Follow/SmartRobotCar_Follow.ino
Code upload method: Upload Program to Arduino UNO Board
1. Open "SmartRobotCar_Follow.ino" in Arduino IDE.
2. Upload the code to the Arduino UNO board.
3. Power on the robot car.
4. Stand or place an object in front of the ultrasonic sensor and slowly move it.
5. Observe how the car follows the target automatically.
Code upload method: Upload Program to Arduino UNO Board
1. Open "SmartRobotCar_Follow.ino" in Arduino IDE.
2. Upload the code to the Arduino UNO board.
3. Power on the robot car.
4. Stand or place an object in front of the ultrasonic sensor and slowly move it.
5. Observe how the car follows the target automatically.
Tips
Keep the target directly in front of the ultrasonic sensor for the best result.
The target should have a clear surface that can reflect ultrasonic waves.
Do not test too close to walls or cluttered objects, because they may affect distance detection.
The target should have a clear surface that can reflect ultrasonic waves.
Do not test too close to walls or cluttered objects, because they may affect distance detection.
Lesson 5 Line Tracking
Lesson 5 Line Tracking
Function
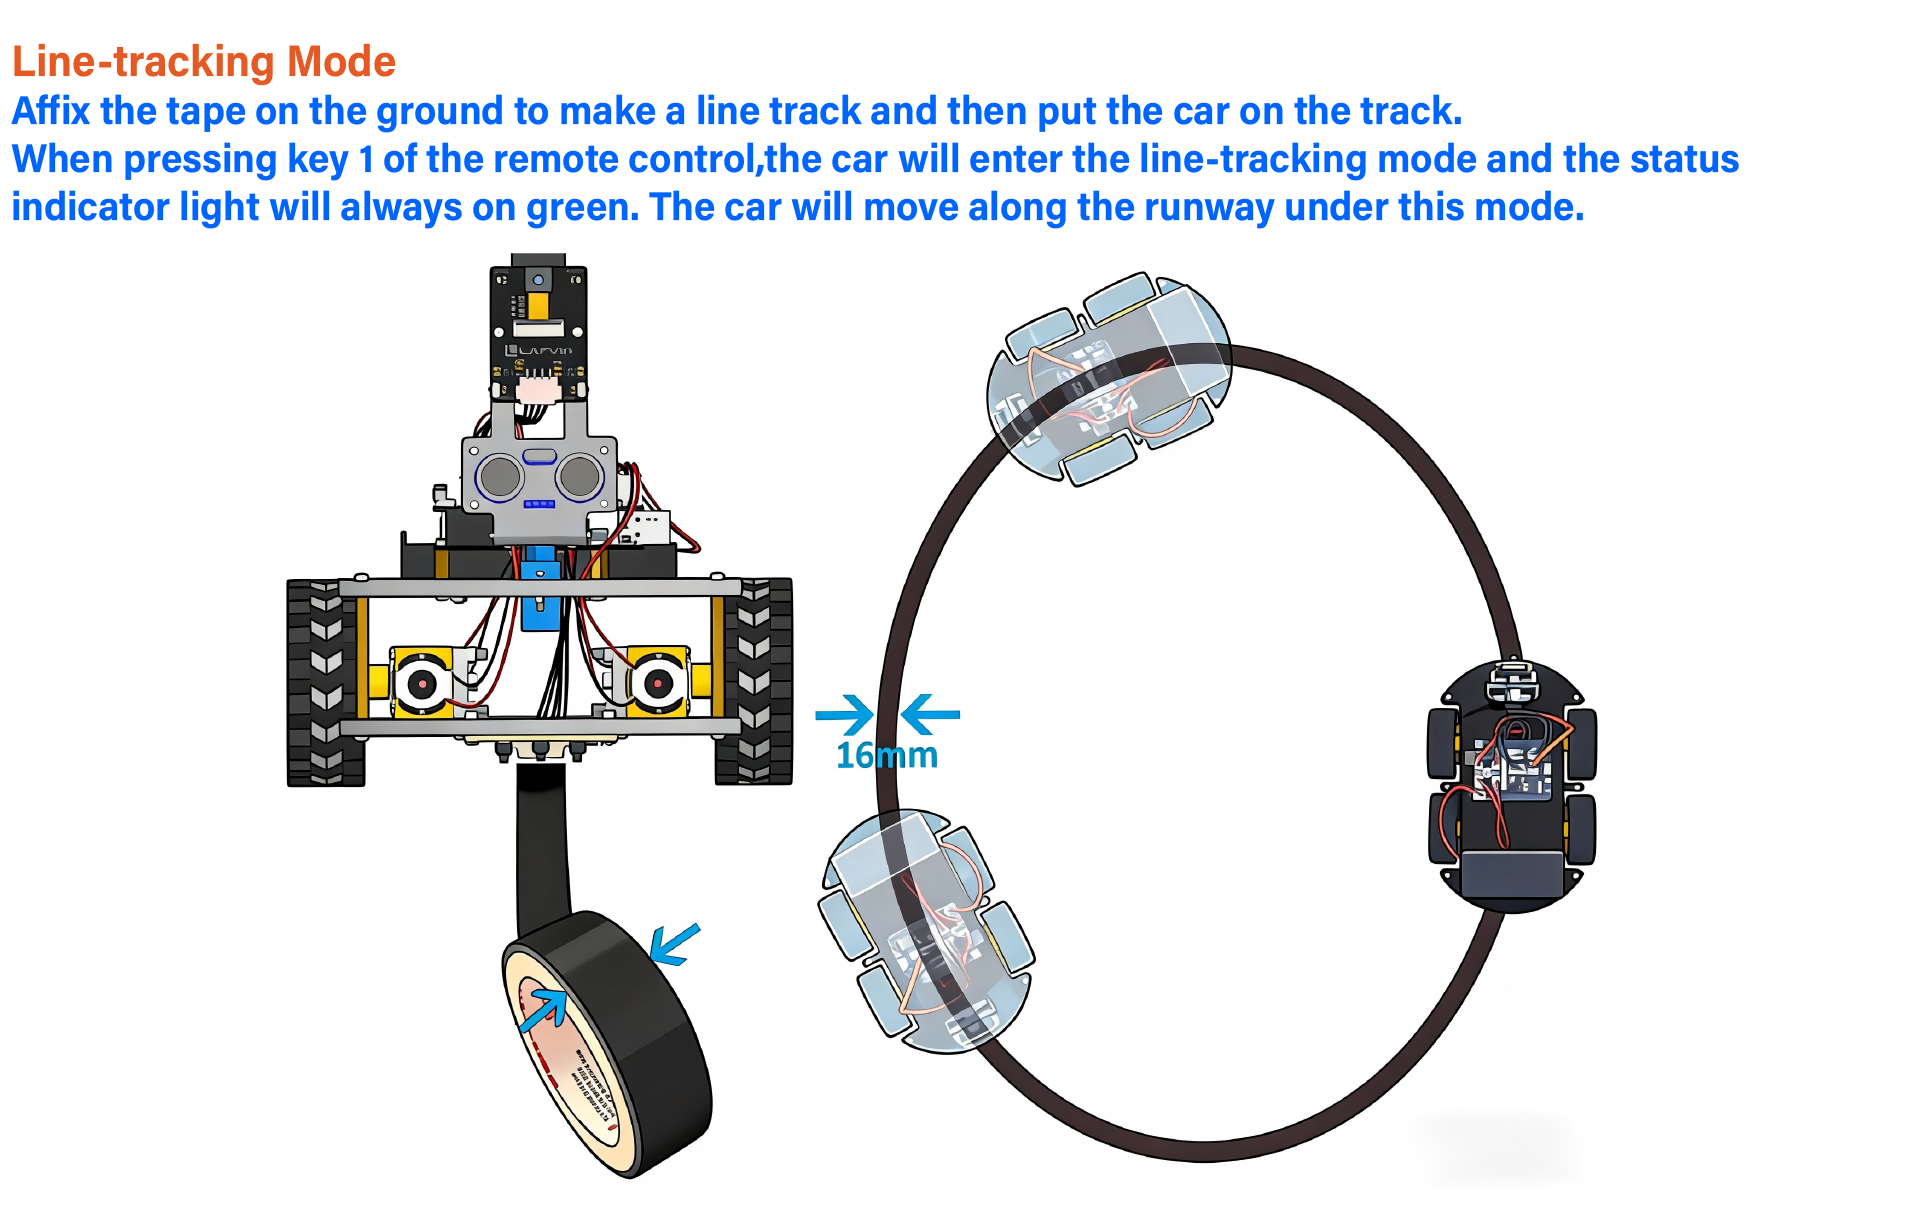
This lesson demonstrates the line-tracking function. After the code is uploaded, the car reads the three line-tracking sensors and follows the line automatically.
What happens after upload
When the middle sensor detects the line, the car moves forward.
When the left or right sensor detects the line, the car turns to correct its direction.
When all sensors lose the line, the car performs a short scan to search for the track.
When the left or right sensor detects the line, the car turns to correct its direction.
When all sensors lose the line, the car performs a short scan to search for the track.
How to use
Code location: Lesson_Code/SmartRobotCar_LineTrack/SmartRobotCar_LineTrack.ino
Code upload method: Upload Program to Arduino UNO Board
1. Open "SmartRobotCar_LineTrack.ino" in Arduino IDE.
2. Upload the code to the Arduino UNO board.
3. Prepare a clear black line on a light background.
4. Place the robot car so that the line-tracking sensors are above the line.
5. Power on the robot car and observe the tracking effect.
Code upload method: Upload Program to Arduino UNO Board
1. Open "SmartRobotCar_LineTrack.ino" in Arduino IDE.
2. Upload the code to the Arduino UNO board.
3. Prepare a clear black line on a light background.
4. Place the robot car so that the line-tracking sensors are above the line.
5. Power on the robot car and observe the tracking effect.
Tips
The contrast between the line and the background should be obvious.
Keep the line smooth and wide enough for the three sensors to detect reliably.
If tracking is unstable, check the height and alignment of the line-tracking module.
Keep the line smooth and wide enough for the three sensors to detect reliably.
If tracking is unstable, check the height and alignment of the line-tracking module.
Lesson 6 Obstacle Avoidance
Lesson 6 Obstacle Avoidance
Function
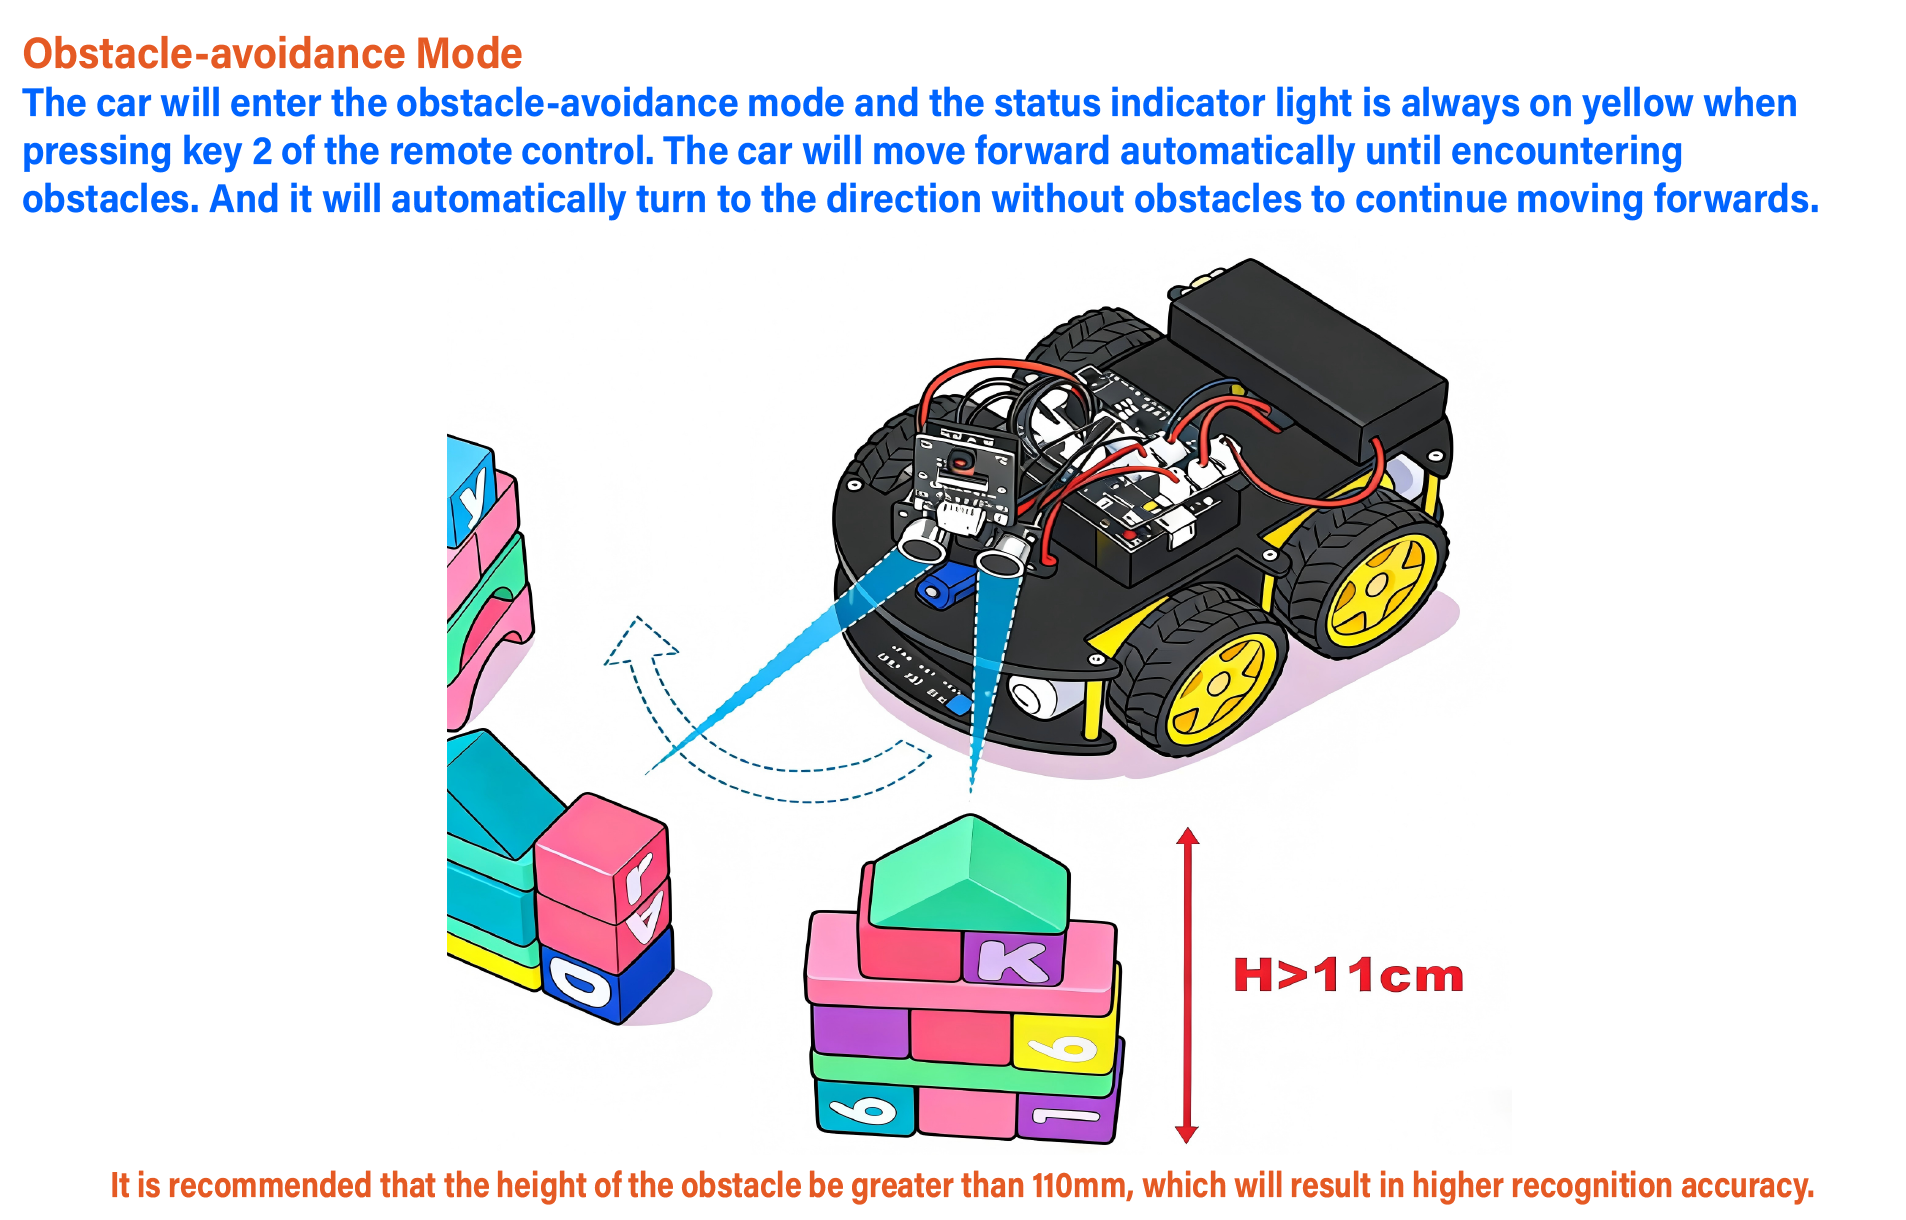
This lesson demonstrates the obstacle-avoidance function. After the code is uploaded, the car will move forward, detect obstacles with the ultrasonic sensor, and choose another direction automatically.
What happens after upload
The car moves forward when the path is clear.
When an obstacle is detected ahead, the car stops.
The servo rotates the ultrasonic sensor to scan different directions.
The car turns to a clear direction, or backs up and turns if all scanned directions are blocked.
When an obstacle is detected ahead, the car stops.
The servo rotates the ultrasonic sensor to scan different directions.
The car turns to a clear direction, or backs up and turns if all scanned directions are blocked.
How to use
Code location: Lesson_Code/SmartRobotCar_Obstacle/SmartRobotCar_Obstacle.ino
Code upload method: Upload Program to Arduino UNO Board
1. Open "SmartRobotCar_Obstacle.ino" in Arduino IDE.
2. Upload the code to the Arduino UNO board.
3. Place the robot car on the floor or a large table with obstacles in front of it.
4. Turn on the power.
5. Observe how the car detects and avoids the obstacles automatically.
Code upload method: Upload Program to Arduino UNO Board
1. Open "SmartRobotCar_Obstacle.ino" in Arduino IDE.
2. Upload the code to the Arduino UNO board.
3. Place the robot car on the floor or a large table with obstacles in front of it.
4. Turn on the power.
5. Observe how the car detects and avoids the obstacles automatically.
Tips
Leave enough space for the robot car to turn.
Flat objects are easier for the ultrasonic sensor to detect than very thin or soft objects.
Make sure the servo and ultrasonic module are installed firmly before testing.
Flat objects are easier for the ultrasonic sensor to detect than very thin or soft objects.
Make sure the servo and ultrasonic module are installed firmly before testing.